I am back with new information on XCP and the steps I used to launch a HVM guest from a CD on my XCP server. I will also be adding another blog posting about the memory issues I faced during this procedure but are probably not a common issue for most people with large enough servers.
GOAL – Use the Command Line Interface to build and launch a HVM guest from a CD of Oracle Enterprise Linux Release 5 Vol 4 for x86 (32-bit)
Step 1 – Connect to XCP Server from remote machine; I opened a terminal window and entered the following command: ssh -l root IP ADDRESS
Results:
stephen@stephen:~/Documents/Blog$ ssh -l root IP ADDRESS
root@IP Address’ password:
Last login: Wed Mar 3 17:33:54 2010 from IP ADDRESS
Type “xsconsole” for access to the management console.
[root@xenserver-reiazupz ~]#
Step 2 – I leveraged the existing XCP documentation found at http://wiki.xensource.com/xenwiki/Command_Line_Interface or http://www.xen.org/files/XenCloud/guest.pdf (Chapter 4; Page 21).
a) Place the Linux Install CD in the CD drive on the XCP Machine
b) Run the command xe template-list
Results (shortened for required information):
uuid ( RO)Â Â Â Â Â Â Â Â Â Â Â Â Â Â Â : 5a3ee06c-3078-cec0-015c-a19cf3c7799d
name-label ( RW): Oracle Enterprise Linux 5.0
name-description ( RW): Template that allows VM installation from Xen-aware EL-based distros. To use this template from the CLI, install your VM using vm-install, then set other-config-install-repository to the path to your network repository, e.g. http://<server>/<path> or nfs:server:/<path>
c) Run xe vm-install template=”<template_name>” new-name-label=<name_for_vm>
* <template_name> is from above Results, “Oracle Enterprise Linux 5.0”
* <name_for_vm> is your choice, I chose “oraclevm”
RESULTS – The UUID of the new oraclevm => vm_uuid
d) Run xe vbd-list vm-uuid=<vm_uuid> userdevice=0 params=uuid –minimal
RESULTS – The Root Disk UUID => root_disk_uuid
e) xe vbd-param-set uuid=<root_disk_uuid> bootable=false
RESULTS: No Output
f) Run xe cd-list to get the name of the CD Drive on the XCP machine
RESULTS: CD Drive name (e.g. SCSI 0:0:0:0) => host_cd_drive_name_label
g) Run xe vm-cd-add vm=<vm_name> cd-name=”<host_cd_drive_name_label>” device=3
RESULTS:No Output
h) Run xe vbd-list vm-uuid=<vm_uuid> type=CD params=uuid –minimal
RESULTS: CD VM UUIDÂ => cd_drive_uuid
i) Run xe vbd-param-set uuid=<cd_drive_uuid> bootable=true
RESULTS: No Output
j) Run xe vm-param-set uuid=<vm_uuid> other-config:install-repository=cdrom
RESULTS: No Output
k) Run xe vm-start uuid=<vm_uuid>
RESULTS: No Output
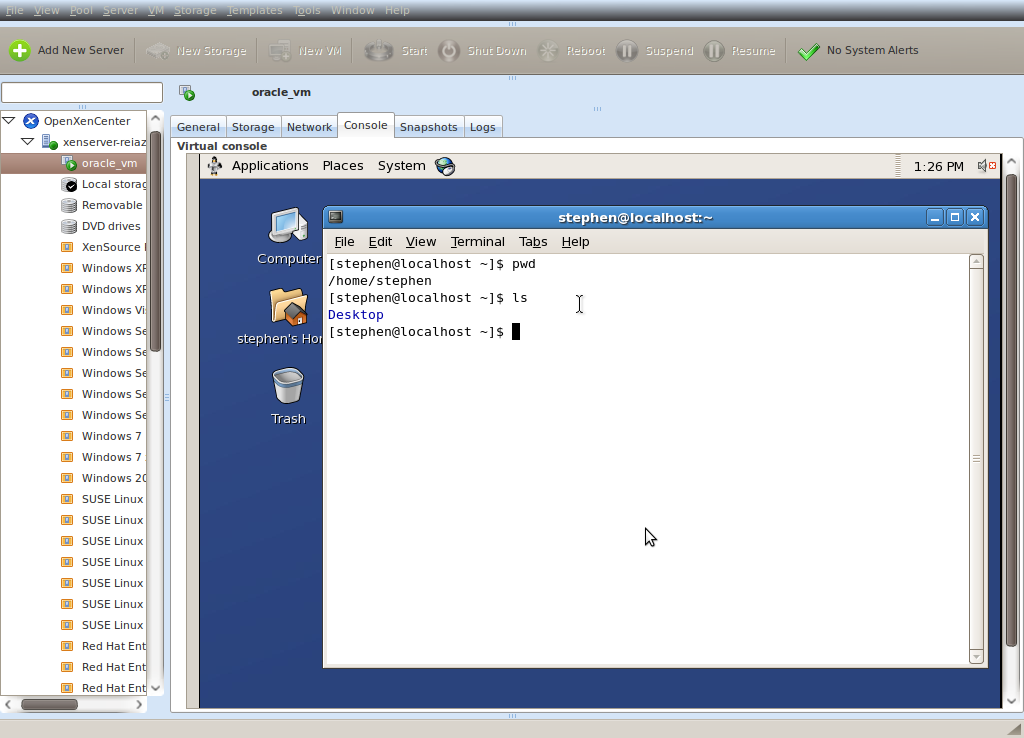
At this point, the VM will start on your XCP machine and you should hear the CD Drive start working. To install the OS within the VM I again chose to use OpenXenCenter and was able to connect easily to my XCP machine and install the OS via the VM Console window. See image below:

As I mentioned at the start of this example, I will be adding another blog to detail the memory issues I had in launching this new VM on my XCP machine. Also, I am still waiting for my Windows 7 CD to arrive in the mail and will post another blog with instructions to launch Windows on XCP.
Read more
We just wrapped up a weekend at FOSDEM 2026 where Xen and XCP-ng both had dedicated booths. This was my first time at FOSDEM and the legend lived up to the hype. It was an insightful weekend full of interesting folks who were genuinely interested in the Xen Project. Everything
The Xen Project is back from Open Source Summit Japan and Automotive Linux Summit 2025. This year’s event felt like a true watershed moment for the automotive industry and for open source. Across talks, demos, and hallway conversations, one thing was clear: open source is now a foundational pillar
In safety-critical industries like automotive and industrial systems, trust is non-negotiable. When building software that controls critical hardware, like braking systems or factory automation, you need confidence. The software must behave exactly as intended. Every time. On the actual device. That's why the Xen Project is investing in
The annual Xen Summit is right around the corner, and there has never been a more exciting time to be part of the Xen Project. As enterprise and industrial needs shift and proprietary vendors rethink their licensing, the industry is ready for strong, open alternatives. Xen stands out not only
